
A broken garage door spring is like a broken knee. If your knee is broken, you’ll have more difficulty walking; with a broken or damaged spring, a garage door also has difficulty operating properly. Whether your garage door uses extension or torsion springs, it’s important to be prepared by knowing how to repair garage door spring. You’ll learn to do exactly that in this blog, so keep reading to find out how to repair garage door spring.
Repair Or Replace Garage Door Spring?
Before diving into how to repair garage door spring, it’s worth knowing when a situation calls for a spring repair or replacement. If your garage door spring is broken, has visible and severe wear and tear, or is at the end of its lifespan, you’ll need to replace it. Repairs are possible in cases where the spring needs to be adjusted, re-installed, or lubricated.
How To Repair Garage Door Spring In 5 Steps
You are now ready to learn how to repair garage door spring. For the purposes of this blog, the focus will be on torsion springs, as those are most commonly used in garage doors. Learn how to repair garage door spring successfully by following these five steps.
1. Close The Garage Door And Turn Off The Opener
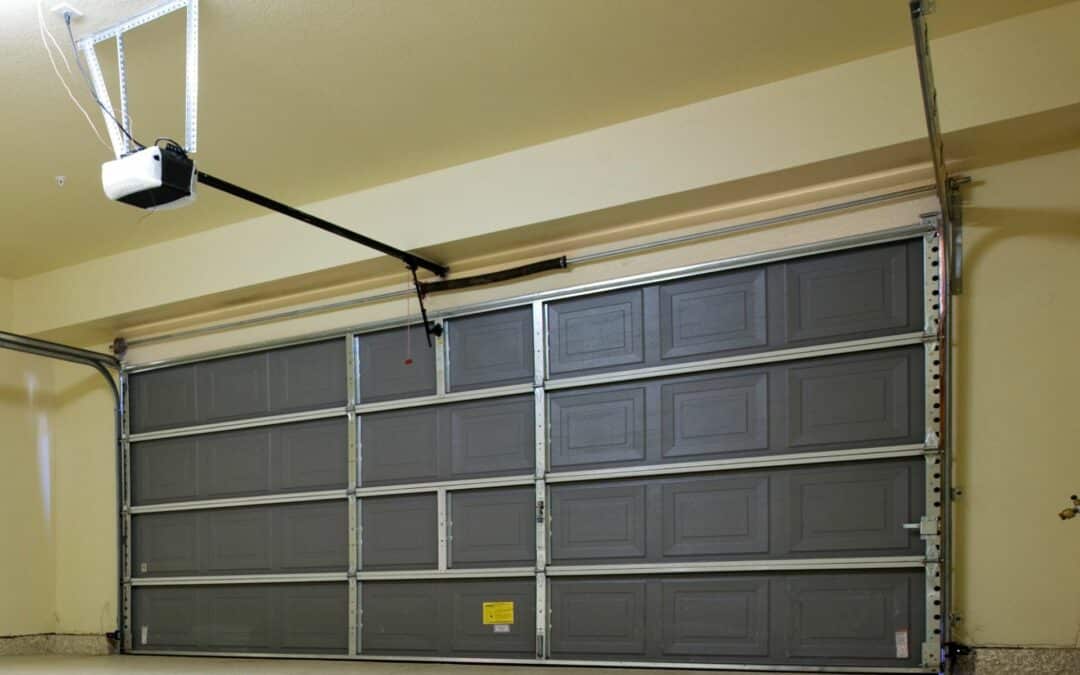
The first step in this process is to close the garage door. If you’re unable to keep the garage door locked, turn off and disconnect the opener to prevent any accidents. If you’d prefer locking the door rather than disconnecting the opener, use a C-clamp or locking pliers on the garage door track. Ensure it’s above one of the rollers.
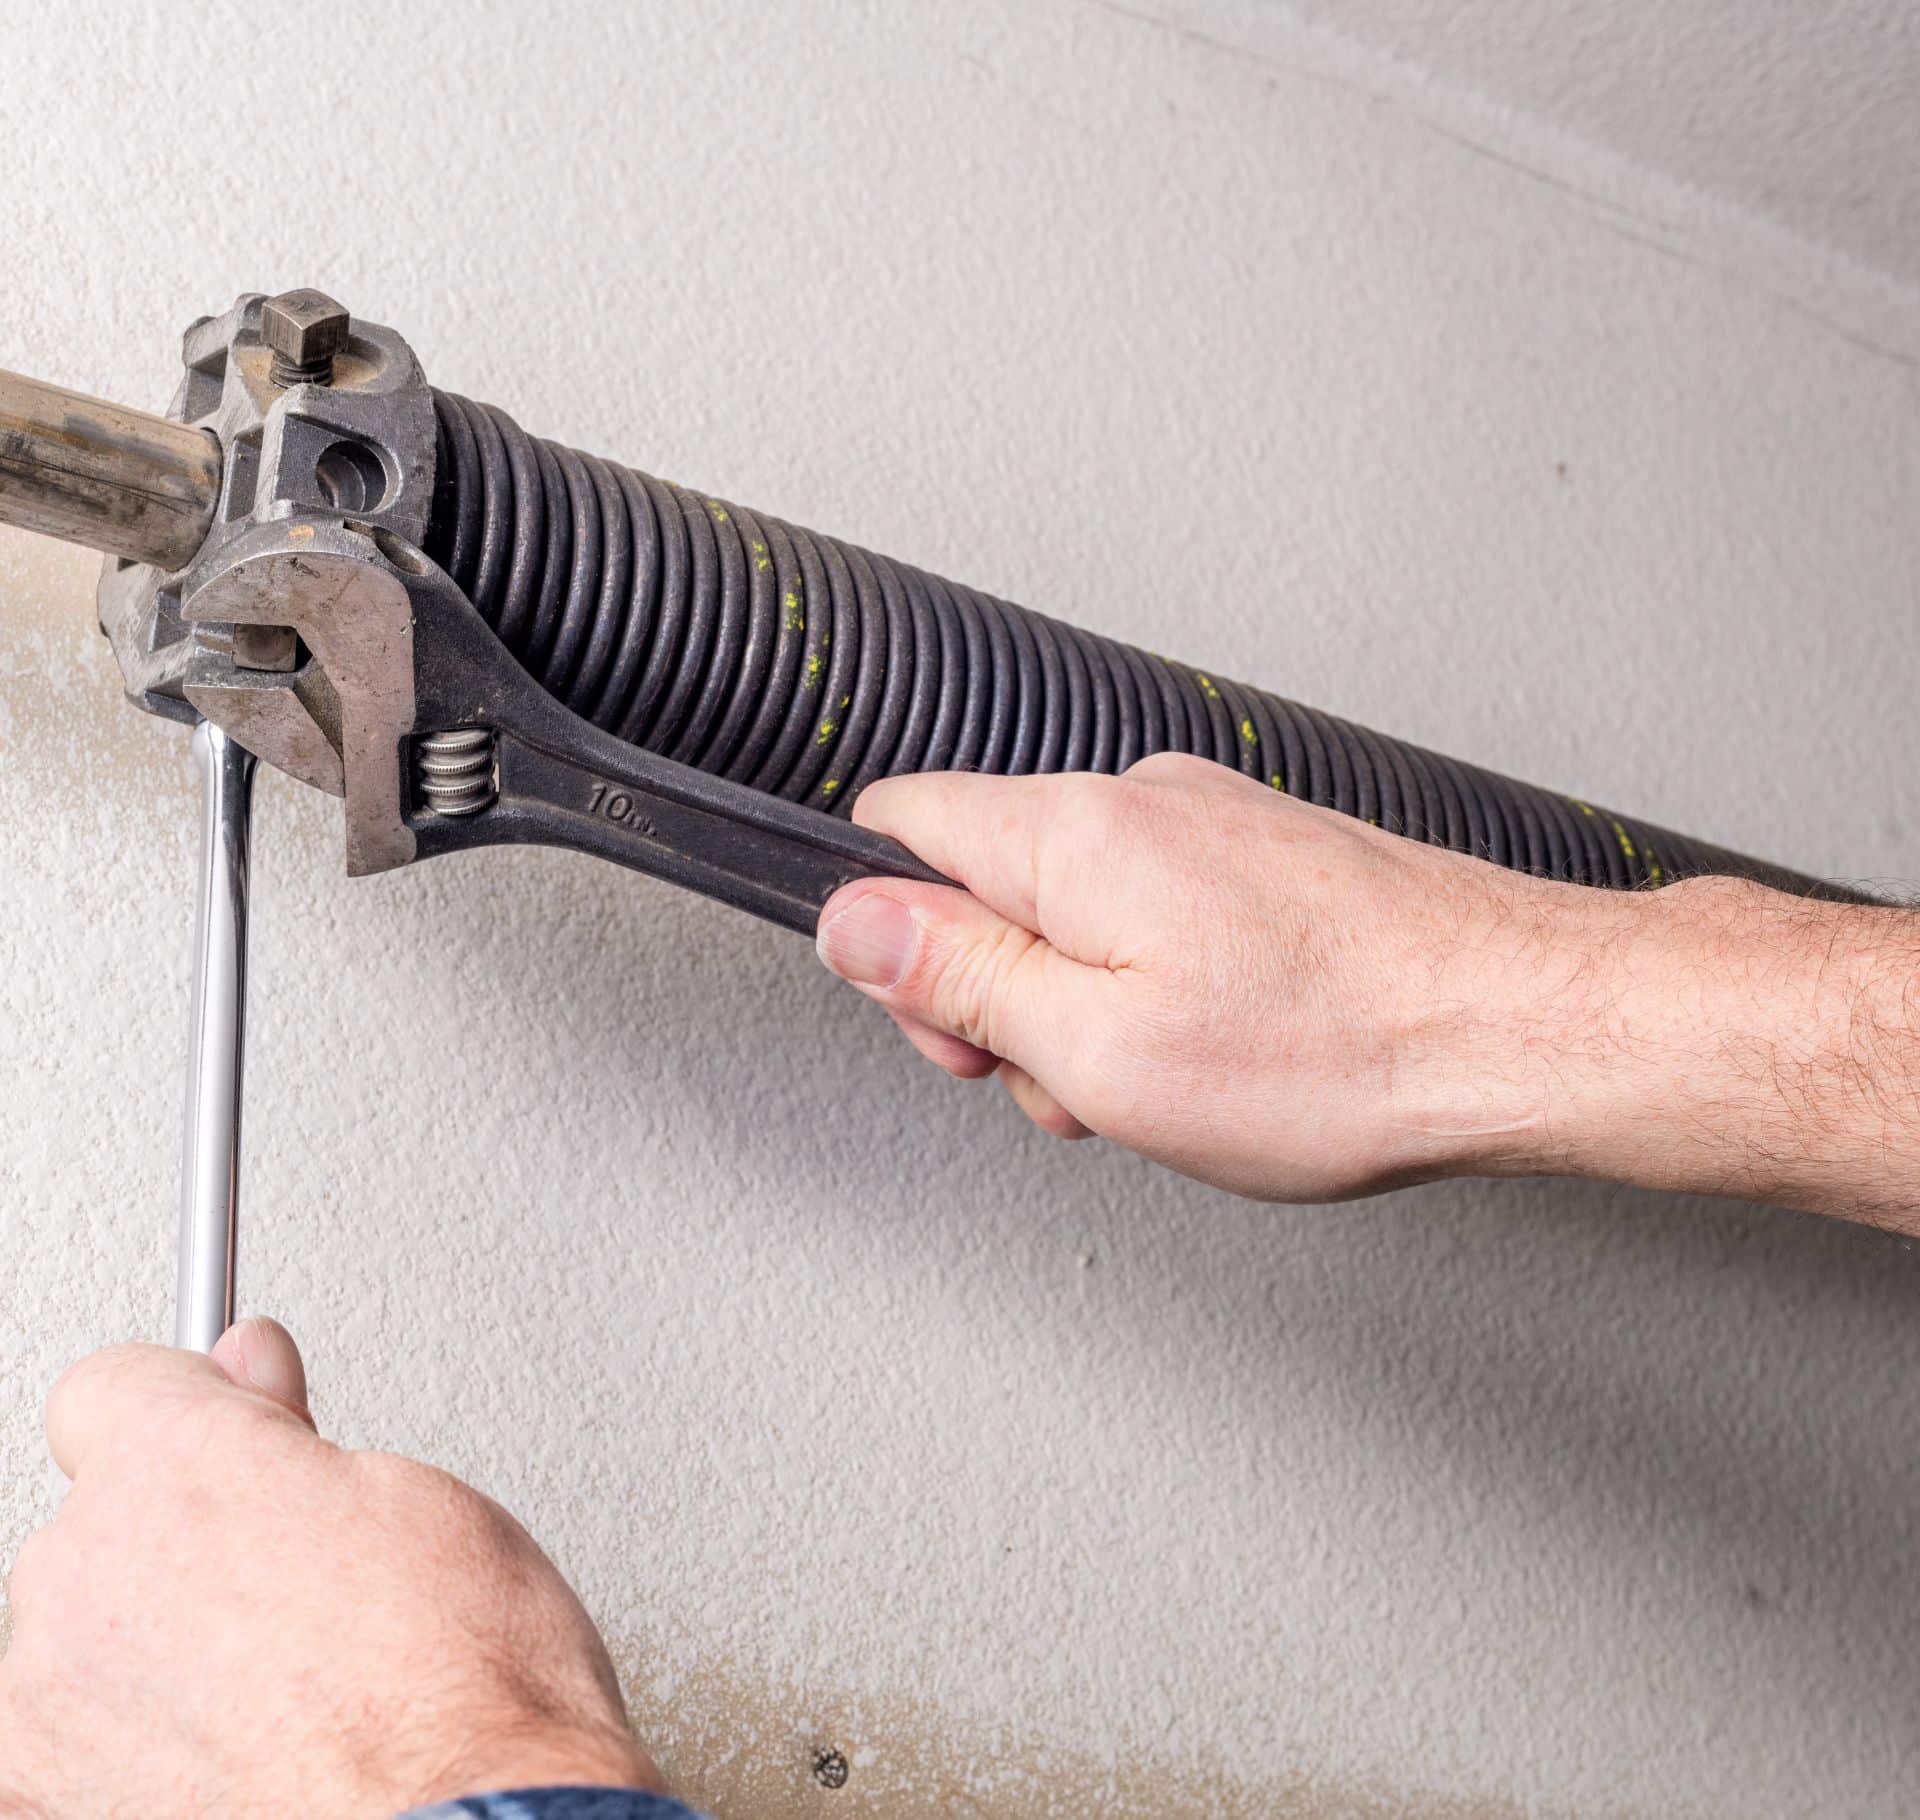
2. Loosen And Unwind The Unbroken Spring
For this step, you’ll need a ladder and winding bars. After ascending the ladder to access the springs, you’ll use the first winding bar to loosen the good, unbroken spring by attaching it to the bottom of the winding cone and loosening two screw sets. Once you’ve loosened the unbroken spring, you’ll use another winding bar to unwind it. You’ll have the winding bars in a hole of the winding cone in a position that forms a ninety-degree angle. Remove the bottom winding bar and carefully unwind the spring.
3. Disconnect Spring From The Center Torsion Bracket
After unwinding the unbroken spring, remove the nuts and bolts in the stationary cones at the center torsion bracket. Once those nuts and bolts are removed, slide the springs to the end brackets. Place the nuts and bolts securely and ensure that all vehicles are parked outside the garage to prevent damage.
4. Take Care Of The Old Spring
For your safety and to prevent damage, you’ll need to secure the torsion tube before checking out any problem springs. You’ll use another set of lock pliers to keep the tube secured to the bracket before checking out the springs causing problems. You’ll need to install new springs if they are old or worn out. They might need an adjustment or lubrication if they are otherwise all right. Once you’ve assessed and addressed the springs in question, it’ll be time to put everything back together.
5. Perform Maintenance And Reassemble
For this last part of this process, start by reinstalling the cable drums and then reinserting the torsion tube. After that, slide the center bearing onto the tube, then reconnect the tubes to the bracket. At this point, take time to clean and lubricate the springs before finishing reassembling and cleaning up the space.
Ask Our Technicians To Replace Your Garage Door Spring
Knowing how to repair garage door spring will help you better understand the process. However, unless you have ample experience with garage door repairs, this job needs to be left in the hands of a technician for your safety. Luckily, if you live in Conroe, TX, all you need to do is contact us at Overhead Garage Door Repair Conroe so our technicians can replace your garage door spring as soon as possible.